Datamap Data Filters
Overview
Given the amount of crucial information that a Datamap contains, access to its systems/subsystems/projects/entities can be restricted based on the owner, department, and region of the system/subsystem/project/entity. Different users can be given access to different systems/projects/entities based on the requirements. Access can be revoked when no longer required.
To apply datamap filters for a user, follow these steps:
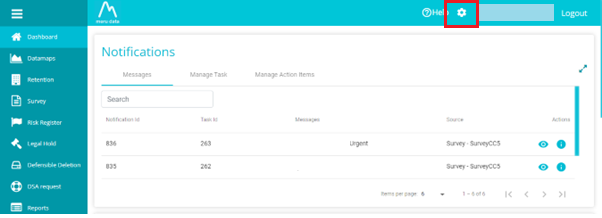
From the Data Governance Tool dashboard, click on the settings icon\
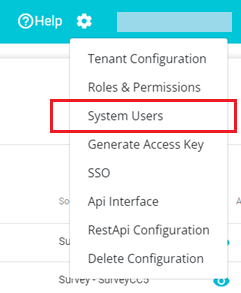
From the settings drop-down menu, click on System Users\
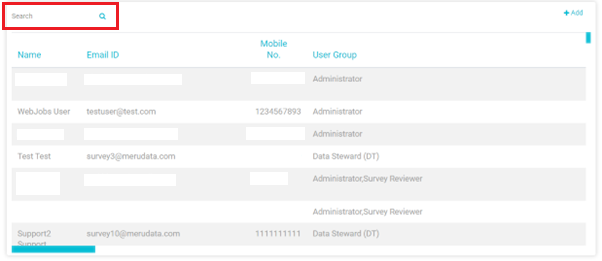
Once on the System Users page, type in the name of the user, in the Search field, whose datamap access you want to update\
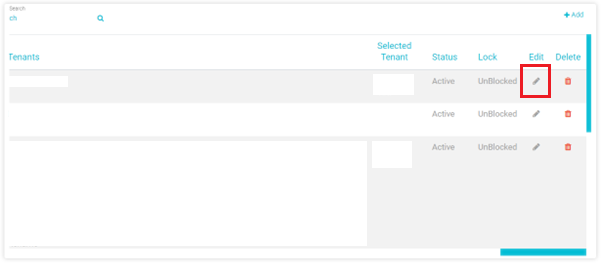
Next, scroll right to click on the Edit button corresponding to the required user\
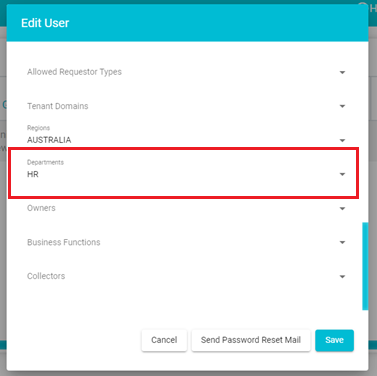
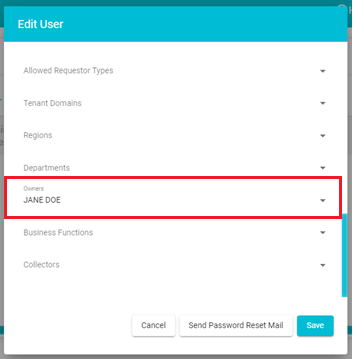
On the Edit User pop-up, scroll down to find the Data Filters section\
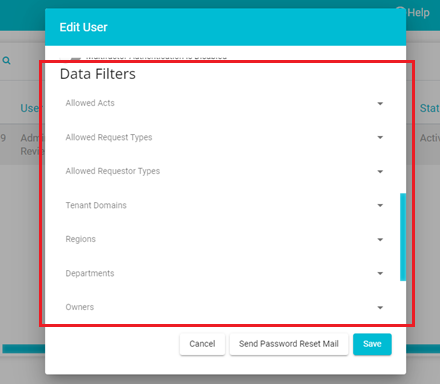
In this section, the following fields correspond to the Datamap: Regions, Departments and Owners. In other words, changes to these fields will accordingly restrict this user's access to the systems/subsystems/projects/entities in the datamap.\ *Note: Multiple selections can be made on drop-down menu for these fields*\

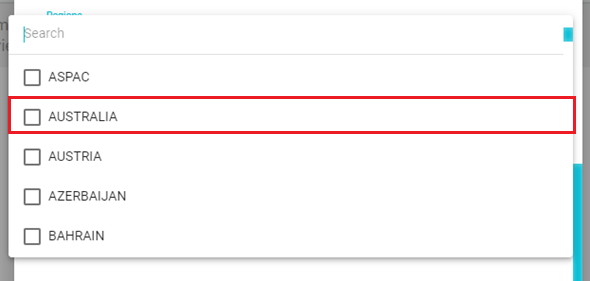
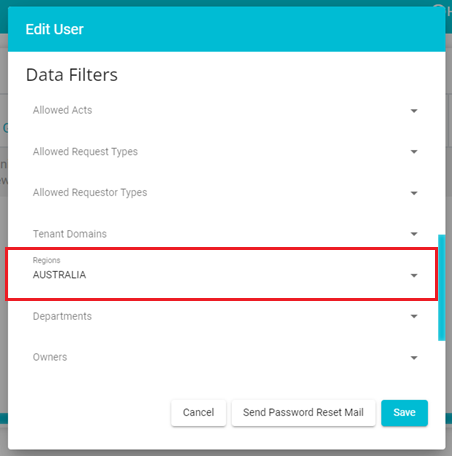
For example, from the Regions drop-down menu, say we select Australia\
 \
\
\
\
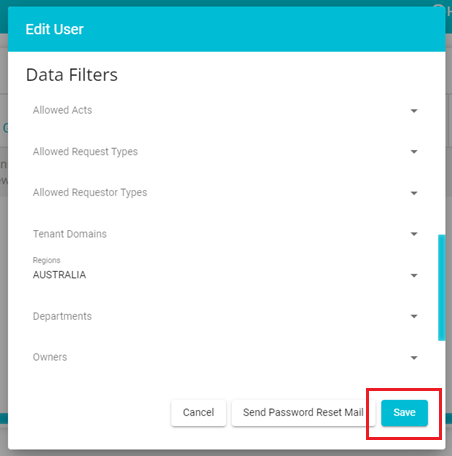
And click the Save button\
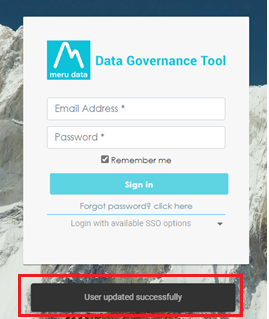
Once any update has been made on the Edit User pop-up, that user will be directed to re-log in. The following message will appear\
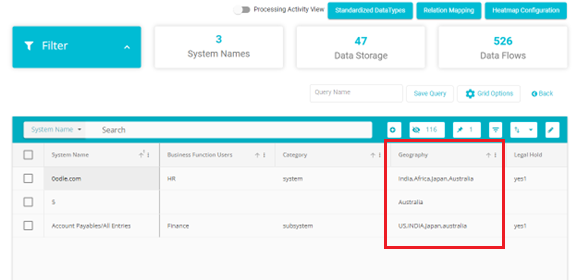
On logging back in, only those systems/subsystems/projects/entities having Australia as their region/geography will be visible to the user as seen in the image below\
The user's access can further be updated. Say we select HR from the Departments drop-down menu\
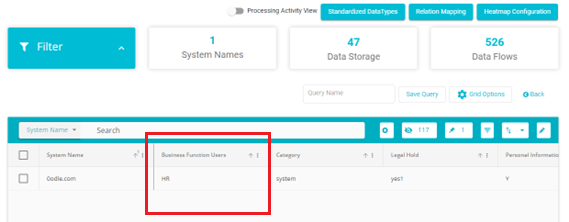
Now, once the user relogs in, only those systems/subsystems/projects/entities with Australia as the region and HR as the department/business function user will be visible\
 \
\Now for example, say you want to be able to access all systems/subsystems/projects/entities belonging to or owned by a specific user/s (having specific user/s as their point of contact). Then select that specific user from the Owners drop-down menu\ Note: The Owner's drop-down menu usually displays the Name or Email ID of another DGT user\
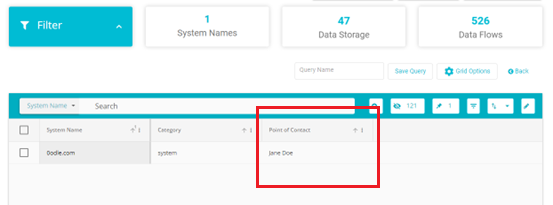
Now, once the user relogs in, then only systems/subsystems/projects/entities with the selected user/s as its point of contact will be visible\
If more than one owner was selected, then all the systems/subsystems/projects/entities having any of the selected owners will be visible. The same is applicable for the other fields; Region and Department.\ For example, say Australia and Japan were selected under region. Then, both those systems/subsystems/projects/entities having Australia as their region and those systems/subsystems/projects/entities having Japan as their region will be visible.
*Note: Any time a new value is typed in the datamap fields and saved, then that value will be available on the Edit Users pop-up dropdown menu.*\
\
For example, say you type in the name Johnny Doe in the point of contact
field on the System Details page of the Datamap\

Then, you hit enter and click the Save button\
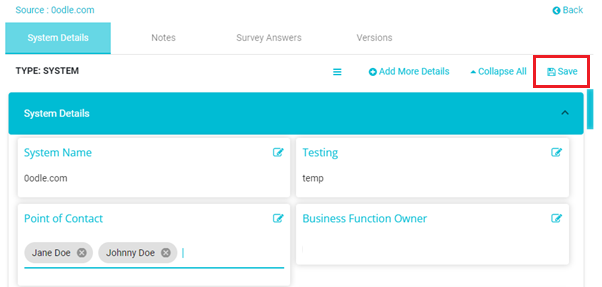
The Datamap will get updated with the new Point of Contact value. Now
this value can be seen on the Owner's drop-down menu on the Edit Users
pop-up\
